The Truss Bracket
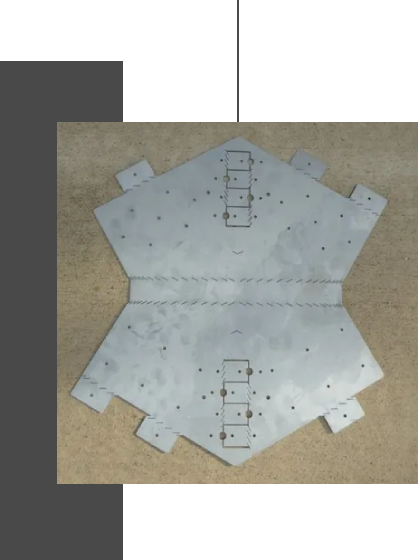
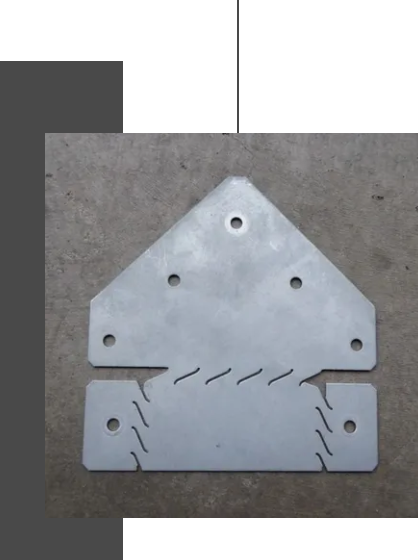
The "T" Bracket
Folding the Truss Bracket

Step 1
The parts arrive at the site in the flat — no bulky boxes with inconsistently formed products.
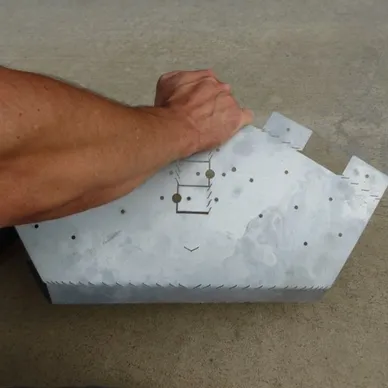
Step 2
Parts are then easily folded by hand — you can fold them over a wood beam to make it even easier.
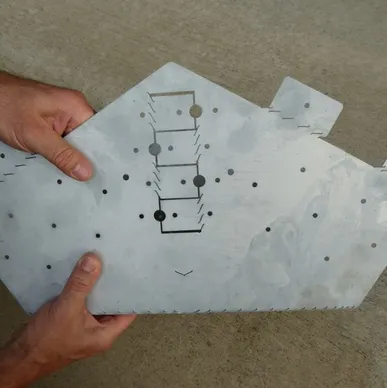
Step 3
After the 2 main folds are done, then fold the tabs, and leave the internal tabs if a center beam is not being used.
Step 4
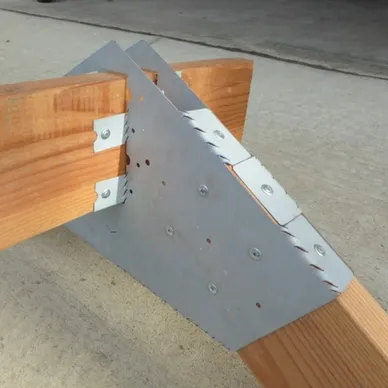
The bracket can then be wrapped around the beams and secured with fasteners. Screws are recommended instead of nails — this is important if deconstruction is necessary.
Miter cuts are not necessary for this application
Once all the fasteners have been installed, this union of beams behaves like a solid piece. Because the bracket fully wraps the wood, there is no movement, and the stiffness is extremely strong.
Folding the "T" Bracket
Step 1
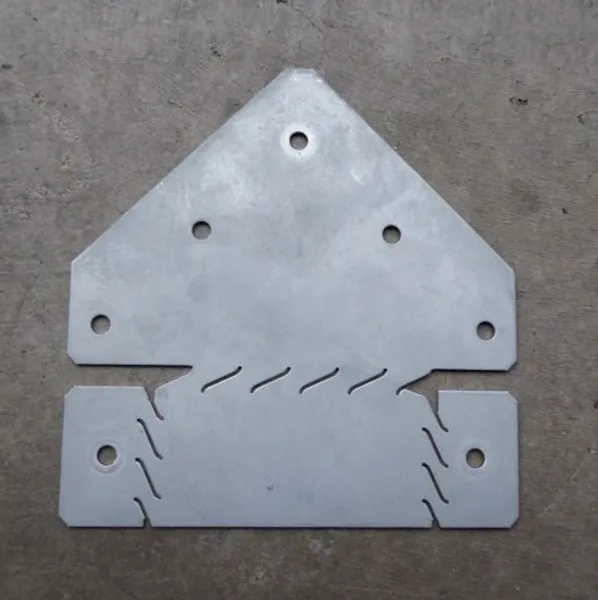
Like the previous one, this bracket comes in flat and is very easy to fold with only 3 bends!
Step 2
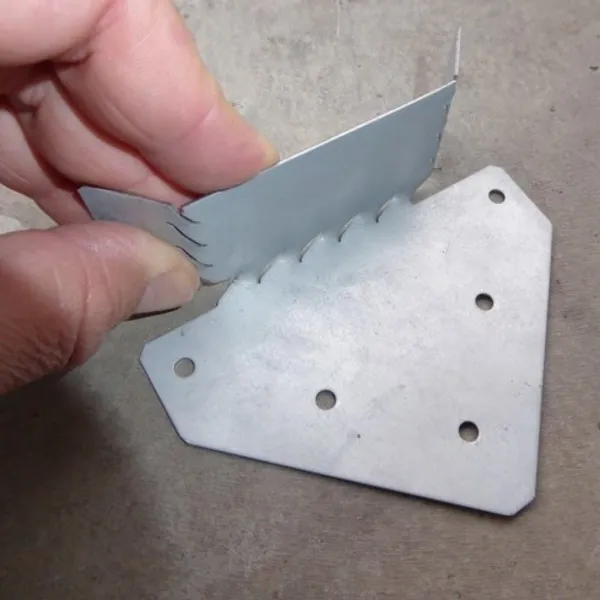
With one 90 deg bend and two 45's, this bracket folds up in seconds.
Step 3
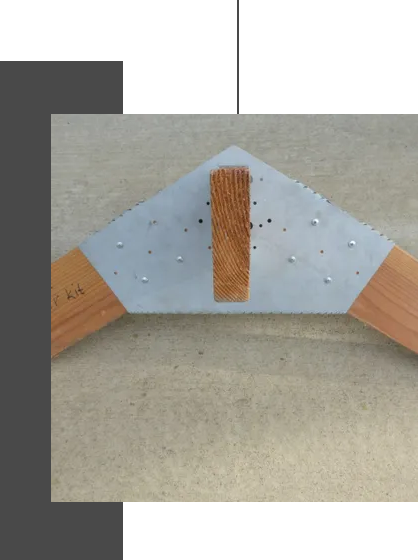
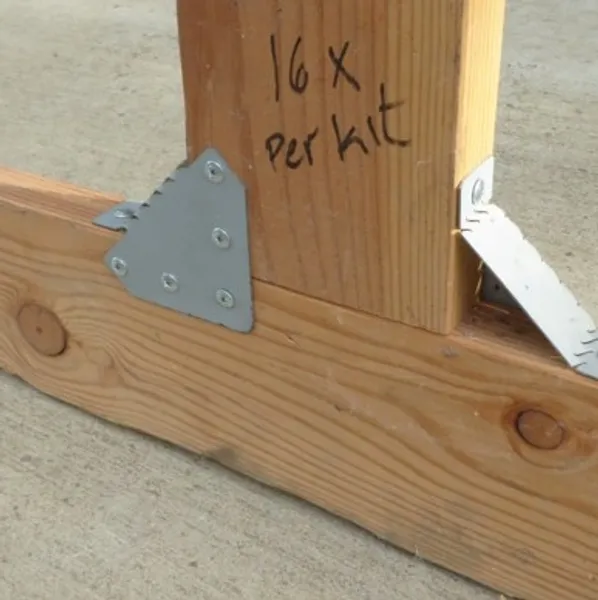
This is a very unique bracket as it functions like a nail plate but with the added strength of corner gussets. Don't be fooled by this bracket — its strength is actually 10x that of a nail plate.
Structure Option
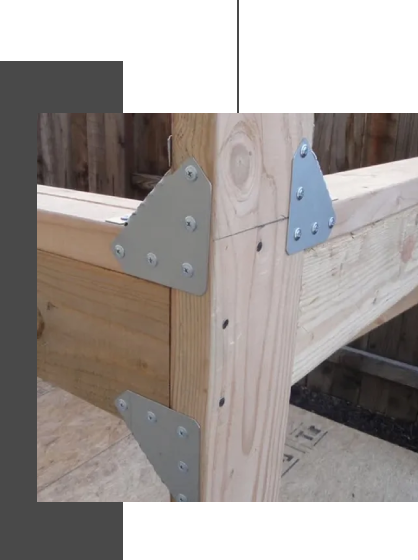
There are plenty of opportunities for the T bracket, like in this corner structure.
